Getting Started with Bonsai
Bonsai is an open source software capable of processing many heterogeneous streams of data in parallel; it is also our software of choice for running fiber photometry experiments using a Neurophotometrics system. Gonçalo Lopes founded Bonsai as a free yet efficient method to track an animal’s behaviour during graduate school at the Champalimaud Centre for the Unknown. We work closely with Gonçalo to improve the way scientists acquire and analyze data. As an open source software, Bonsai is free to use and not proprietary to any one company; therefore, you can use Bonsai to acquire from or run many behavioural paradigms. The entire program is made in C#, but because it is designed for scientists, the user interface has deviated from utilizing syntactical devices used by other coding languages that many find annoying if they aren’t already fluent coders. Instead, Bonsai is a visual coding language, and its user interface relies on understanding a flow of logic and connecting nodes to achieve your desired outcome.
At Neurophotometrics, we specifically like using Bonsai to timelock photometry data to events in other domains, including operant tasks, EEG, elevated mazes, forced swim tests, audio analysis, and more. Bonsai has many built-in nodes for analyzing such data, but its flexibility extends farther than connecting pre-existing nodes; you can output Python commands if Bonsai’s built in nodes are not sufficient. Furthermore, you can contribute to the community by developing your own packages if you are familiar with C#.
While documentation is limited, Gonçalo moderates a Bonsai Google forum where questions can be posted and code can be shared. In addition, scientists at Neurophotometrics can be called upon as a resource to help timelock photometry data to your behavioural events.
Setting Up Bonsai
We recommend that you download Bonsai 2.4. Current users should ensure that their version is updated to Bonsai 2.4.1 by the end of March 2020. If you haven’t updated Bonsai by then, no worries — your current version of Bonsai will not become obsolete, but as new Neurophotometrics specific nodes are launched, the dependencies will need to be updated.
To set up Bonsai, install the .exe or .zip file, and once fully downloaded open the Bonsai (x64) application. Please note that a security feature on your device may block Bonsai from running, just click “More Information” and “Run Anyway” to bypass security.
From the “Getting Started” page, select the “Manage Packages” page and install the following packages: Bonsai Starter Pack (which will automatically install Arduino, Audio, DSP, DSP Design, Osc, Scripting, Vision, Vision Design and Window Input), Bonsai – Editor, Bonsai, Bonsai – Core, Bonsai – System, Bonsai – Design, Bonsai – Visualizers, Bonsai – Scripting, Bonsai – Video, Bonsai – System Design, Bonsai – Video Design, and Bonsai – PointGrey Library. You may need additional packages if you wish to timelock your behavioural data to your fiber photometry data. We typically recommend downloading every package until the end of the second page. Once you hit close or exit out of the manage packages window, your Bonsai main page will pop up. You can re-access all Bonsai packages by selecting Tools and Manage Packages.
Working with Bonsai
Once you have everything downloaded, you’re ready to begin coding. To define the path to save your workflow and to play or stop your workflow, use the toolbar at the top of the window.
Your toolbox contains all of your nodes and can be easily searched by typing in the name of your node. All nodes can be separated into 5 different categories: Source, Transform, Combinator, Sink, and Conditions.
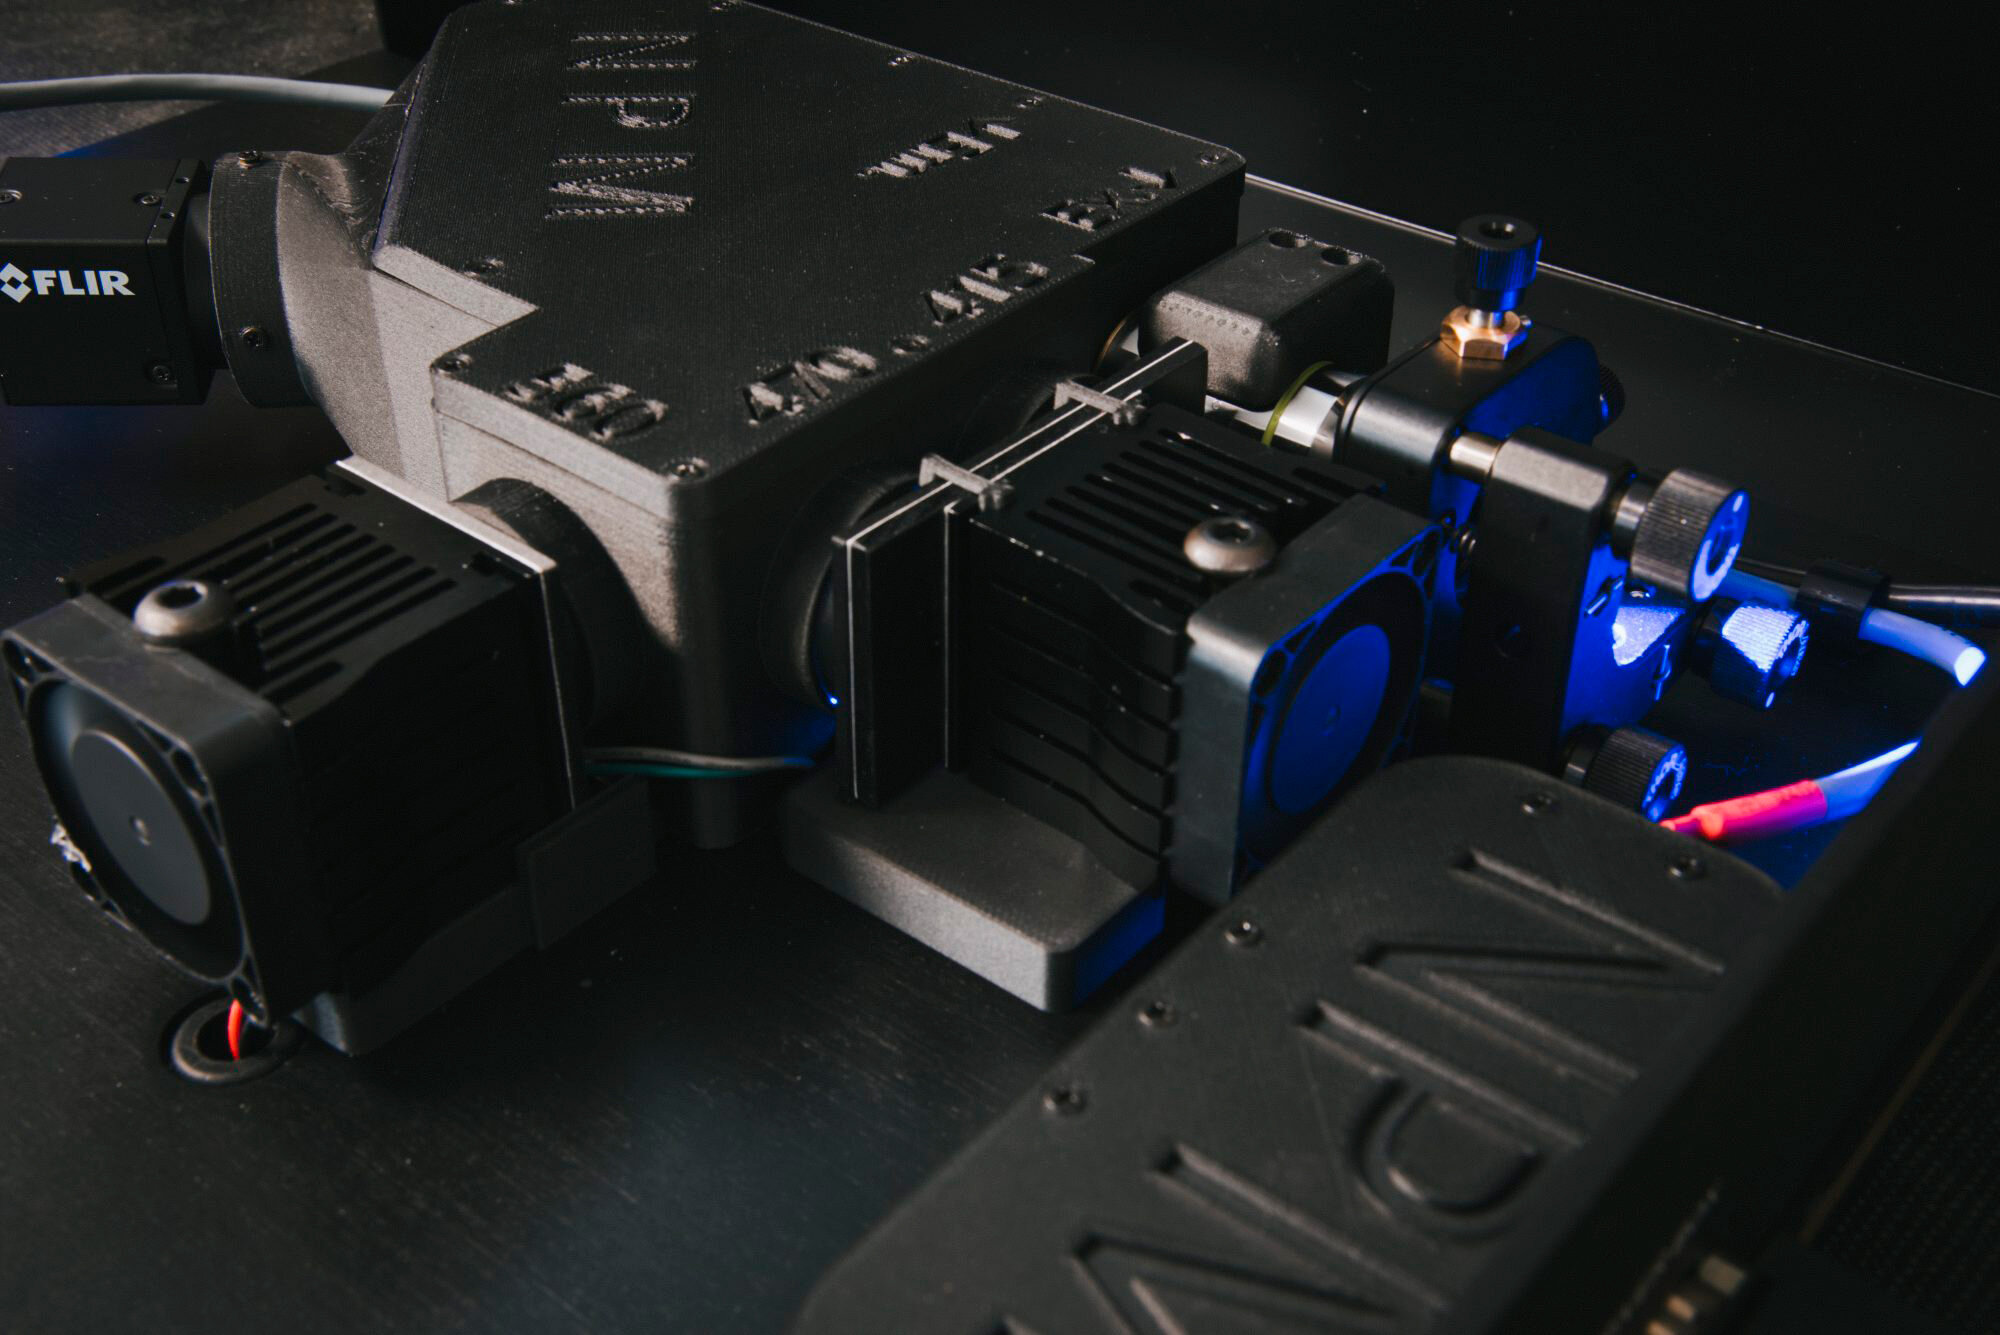
Source nodes define where incoming data is coming from. In the case of our fiber photometry workflow, incoming data is sourced through the Spinnaker (formerly FlyCapture) node, specific software that accesses data from the camera via a Spinnaker driver. In the case of motion tracking, incoming data is sourced via the VideoCaptureDevice node, which can acquire video feed using the DirectShow driver from most webcams excluding Logitech.
Transform nodes process your data or specify a data subset that you would like to examine. CropPolygon and Average(Dsp) is one of our favorite transformation node combinations. We can specify a region of interest within our video feed and take the average pixel value within that region. Not only will we use this combination to process fiber photometry data, but also for conditioned place preference (CPP) tests. Regions of interests can be drawn over different fields in the arena, and when the animal enters a region, the pixel intensity will change to produce the time onset and exit of place preference.
Transform nodes will maintain the same number of elements in your data set; however, each element will be transformed by a constant variable.
Combinator nodes help synchronize or gate all of your inputs. Our favorite node is the Zip node such that we can combine all streams of data in parallel. However, this is gated by your slowest input sequence. The sequences of data are matched such that the length of each output sequence is equal. Case in point: we output fiber photometry data and key down data into separate zip nodes. If both streams of data input into the same zip node then fiber photometry data will only be saved if a key is pressed (slowest input sequence).

Combinator nodes such as zip will synchronize elements within your data structure such that each array is of equal length.
Sink nodes define the file type into which your data is exported. In most cases we will use CsvWriters (file type .csv) or VideoWriters (file type .avi). When using CsvWriters, note that your rows of data are transposed into columns when exported. For example, if your first row of Bonsai code outputs time and your second row outputs relative fluorescence, the first column of data within your csv file outputs as time and your second column outputs relative fluorescence. Bonsai can process many streams of data simultaneously and can be applied to a wide range of paradigms.

Sink nodes will save every input element until the end of the recording.
Condition nodes act as gate, filtering through a data set to determine elements that pass a specified criteria. Conditions nodes will most likely be used within a closed-loop control with behaviour. Closed-loop control with a behaviour will require additional hardware such as an Arduino to complete certain tasks. The most common use for closed-loop control is to optogenetically stimulate a brain region in relation to a certain behaviour.

Condition nodes filter out data elements that meet a certain criteria specified by the condition.
While this article briefly touches upon some fundamental aspects of Bonsai code, the extent of data processing expands much further! Below, we have included a downloadable set of sample workflows to help you get started. If you need help designing a workflow or have any questions about coding in Bonsai, please don’t hesitate to contact us by using the contact form on this website!
This post was written by Madalyn De Viso.